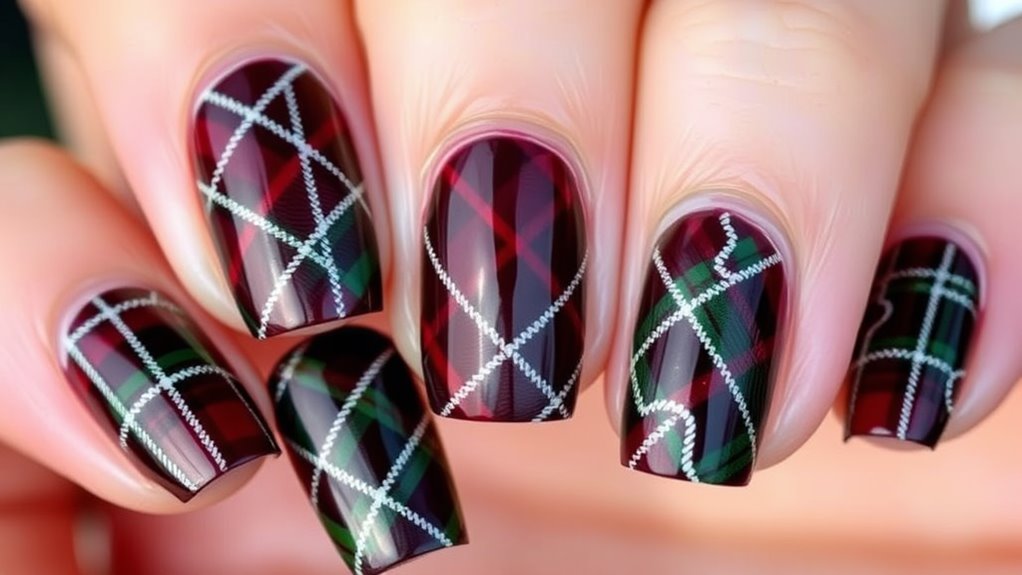
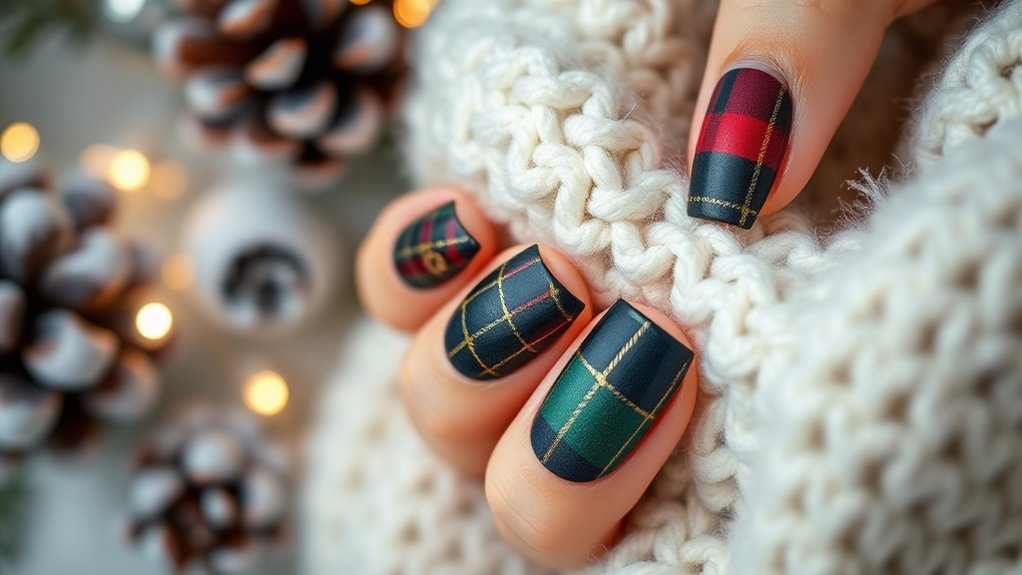
Plaid Patterns- Cozy Winter Nail Art
Plaid patterns bring a cozy vibe to your winter nail art. Start with a solid base color, then use a thin brush to create vertical and horizontal lines in contrasting shades. Deep reds and forest greens work beautifully for that classic winter look, while soft creams and dusty blues offer a chic alternative. Don’t forget to seal your design with a top coat for durability. Using striping tape can help you achieve clean lines, too. With a little practice, you’ll perfect your technique and impress everyone with your festive flair. There’s plenty more to explore about this fun design!
The History of Plaid Patterns
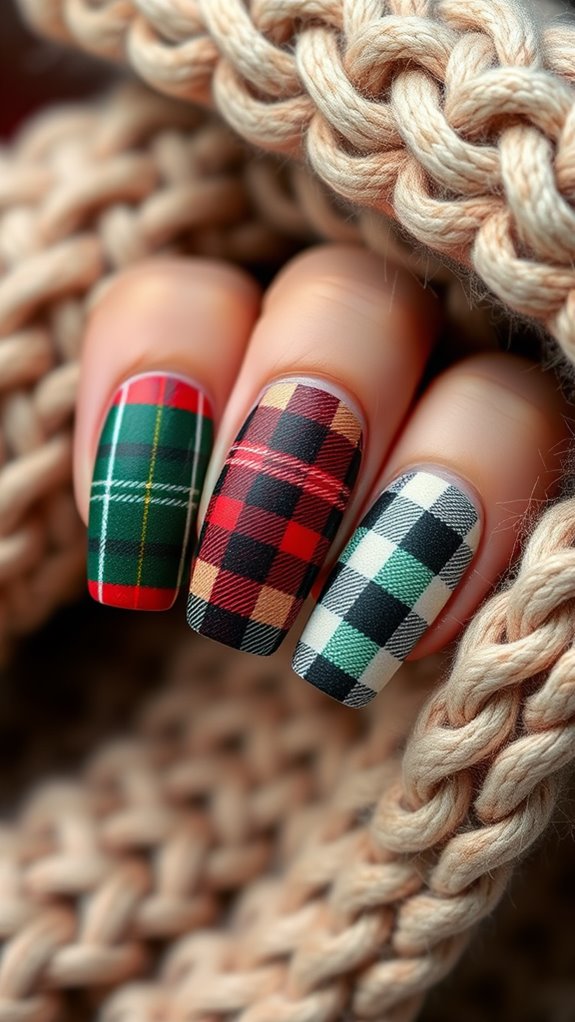
Plaid patterns have a rich history that dates back centuries, originating in Scotland where they were woven into the fabric of clan identity. Each design symbolized a specific clan, allowing members to recognize one another. As time passed, plaid evolved, becoming popular beyond Scotland. Today, you’ll find it in fashion and nail art, bringing a cozy, timeless feel to your winter look.
Essential Tools for Nail Art

When it comes to creating stunning nail art, having the right tools is essential. You’ll need a good base coat, high-quality nail polishes, and a top coat for durability. Nail brushes, dotting tools, and striping tape will help you achieve intricate designs. Don’t forget a clean-up brush for mistakes and a nail file to shape your nails perfectly. Happy crafting!
Step-by-Step Plaid Nail Design
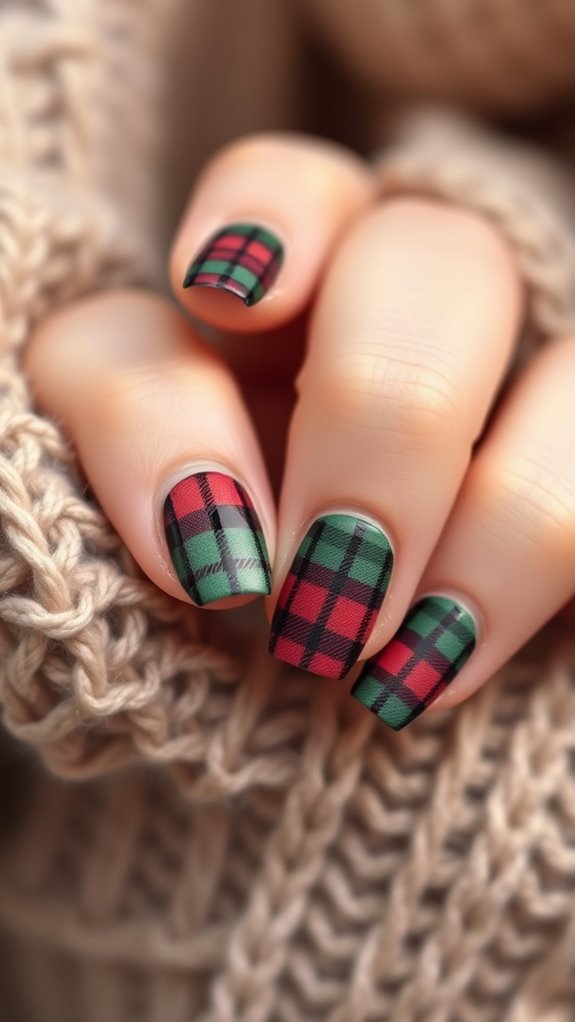
Creating a cozy, winter-inspired plaid nail design is easier than you might think. Start with a solid base color. Once dry, use a thin brush to draw vertical lines in a contrasting shade, followed by horizontal lines to form the plaid pattern. Add a topcoat for shine and protection. Finally, let it dry completely, and enjoy your stylish winter nails!
Color Combinations for Winter

Winter nails can really pop with the right color combinations, bringing warmth and cheer to the chilly season. Think deep reds paired with forest greens for a classic look, or soft creams with dusty blues for a more subtle vibe. Don’t shy away from metallics; gold or silver accents can elevate any design. Mixing textures and shades can create a stunning winter statement!
Tips for Perfecting Plaid Nails
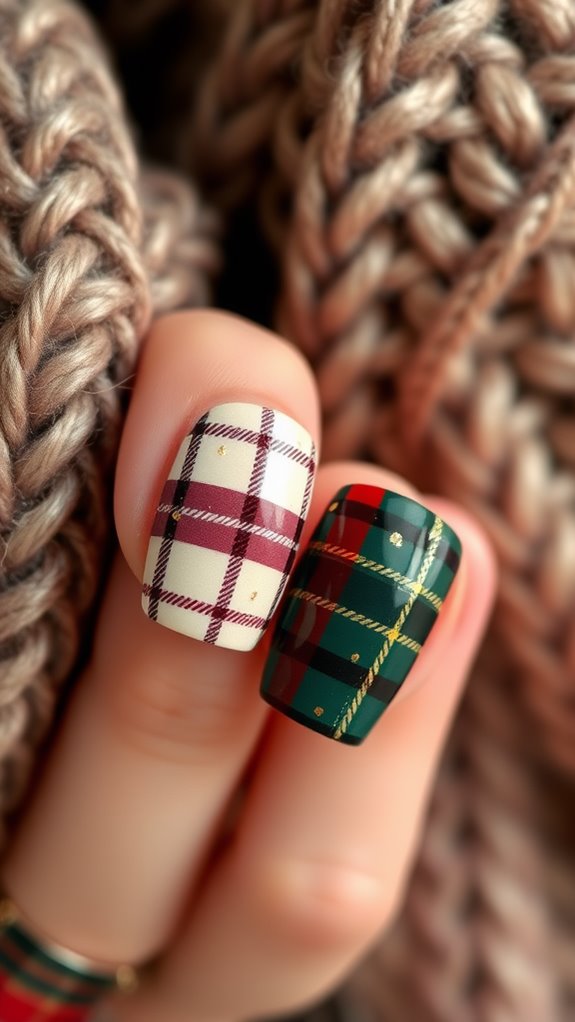
To achieve the perfect plaid nail art, you’ll want to start with a smooth base coat that sets the stage for your design. Use striping tape to create crisp lines and make your plaid patterns stand out. Choose contrasting colors for a bolder look, and don’t forget to seal everything with a top coat for longevity. Practice makes perfect, so keep refining your technique!
Creative Plaid Variations
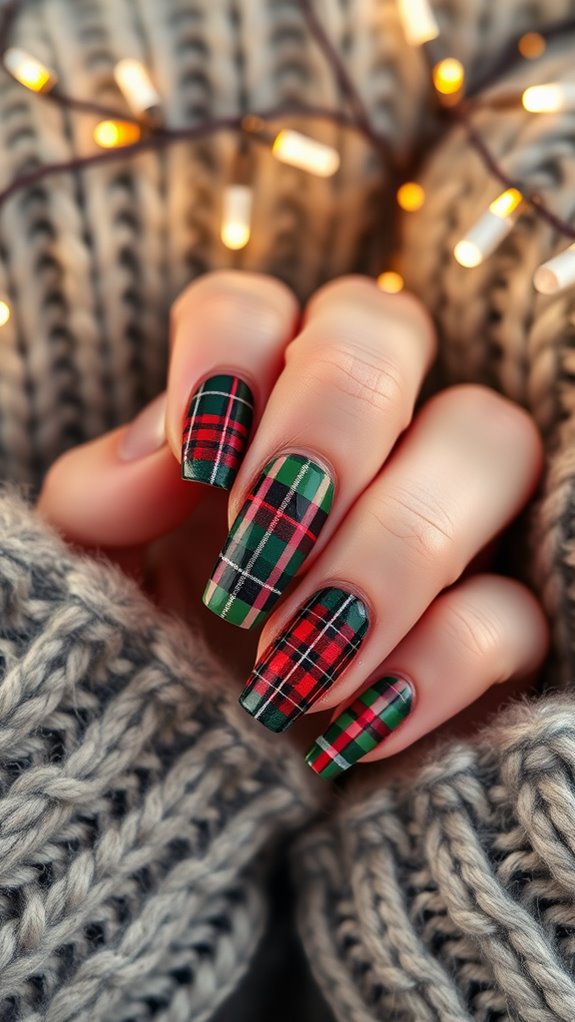
Plaid nail art isn’t just limited to traditional red and black patterns; you can explore a variety of creative variations to express your style. Try pastel colors for a softer look, or metallic shades for a glamorous twist. Incorporate different widths of stripes or mix plaid with geometric designs. Experimenting with colors and patterns can make your nails a unique winter statement!
Inspiring Examples of Plaid Nails
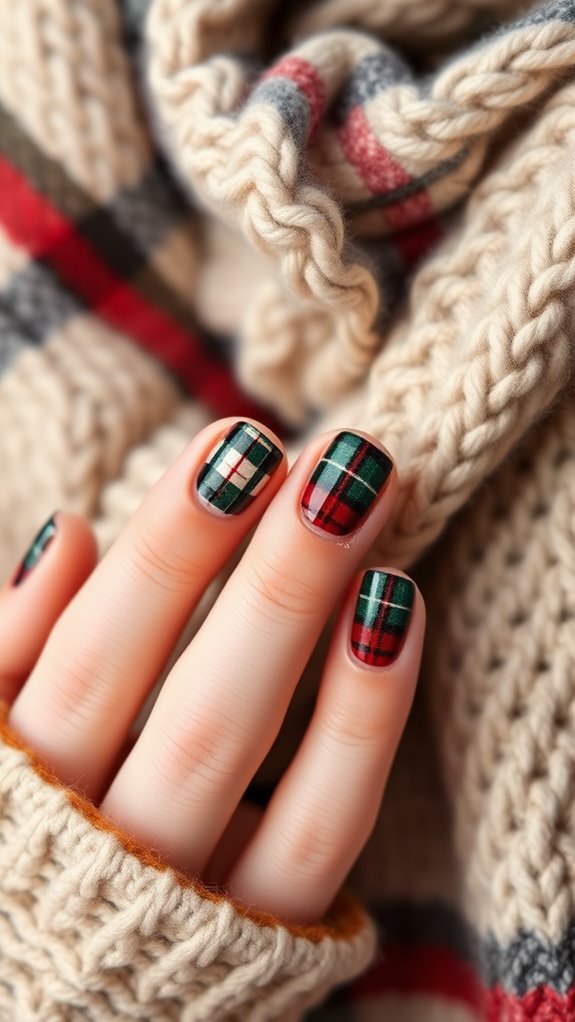
Nail art is all about showcasing your personality, and plaid designs offer a fantastic canvas for creativity. You can go for classic red and black checks for a bold statement, or opt for softer pastel hues for a more subtle look. Mixing different plaid patterns on each nail can create an eye-catching, unique style that’s sure to inspire your winter vibes!
Maintaining Your Nail Art
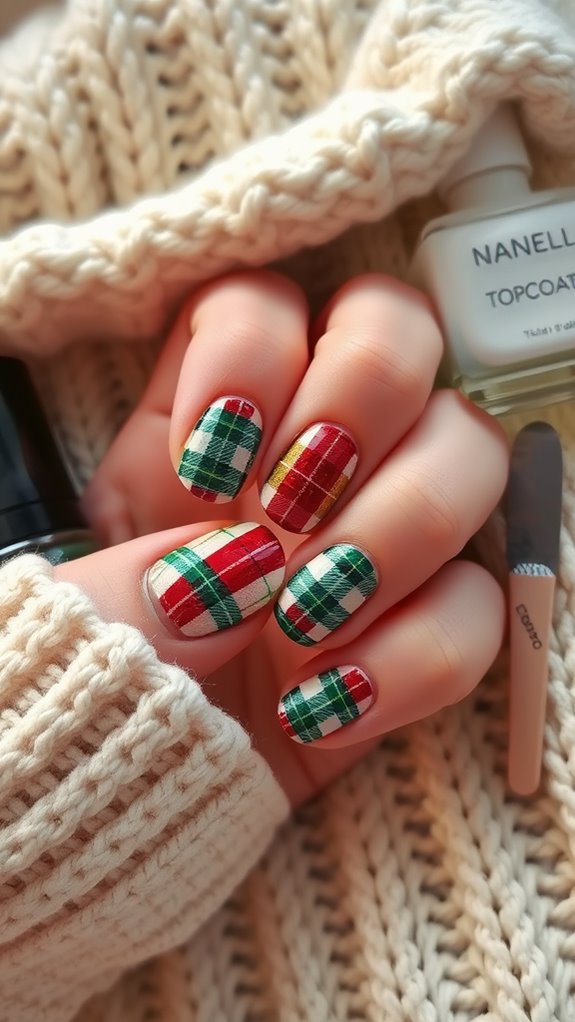
Keeping your stunning nail art looking fresh and vibrant requires a bit of care and attention. To maintain your plaid patterns, avoid prolonged exposure to water and harsh chemicals. Regularly apply a clear topcoat to seal and protect your design. When cleaning, use gentle products and soft cloths. Lastly, give your nails a break between designs to promote healthy growth and prevent damage.


