Snowflake Nails- Sparkle Like Winter Magic
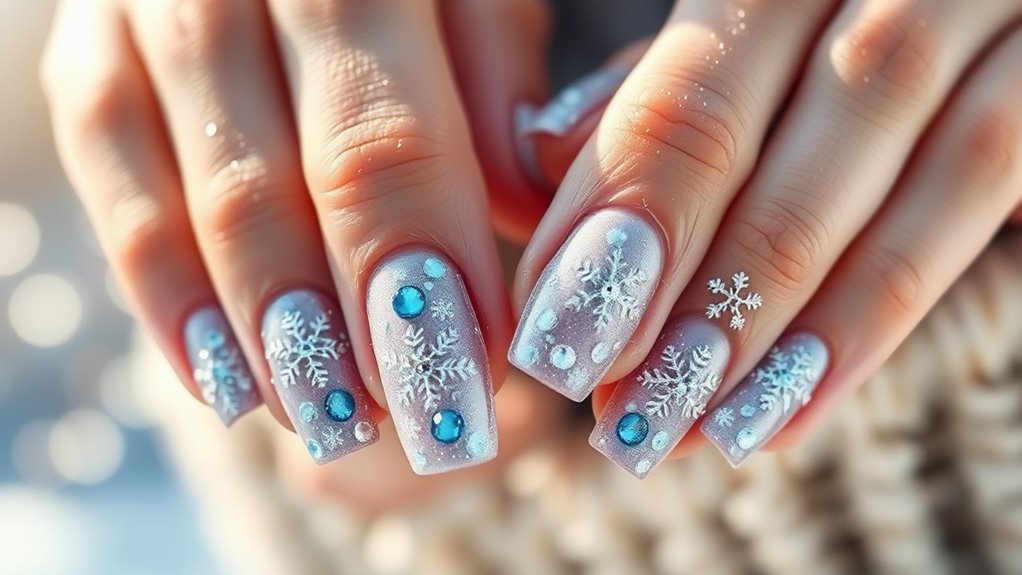
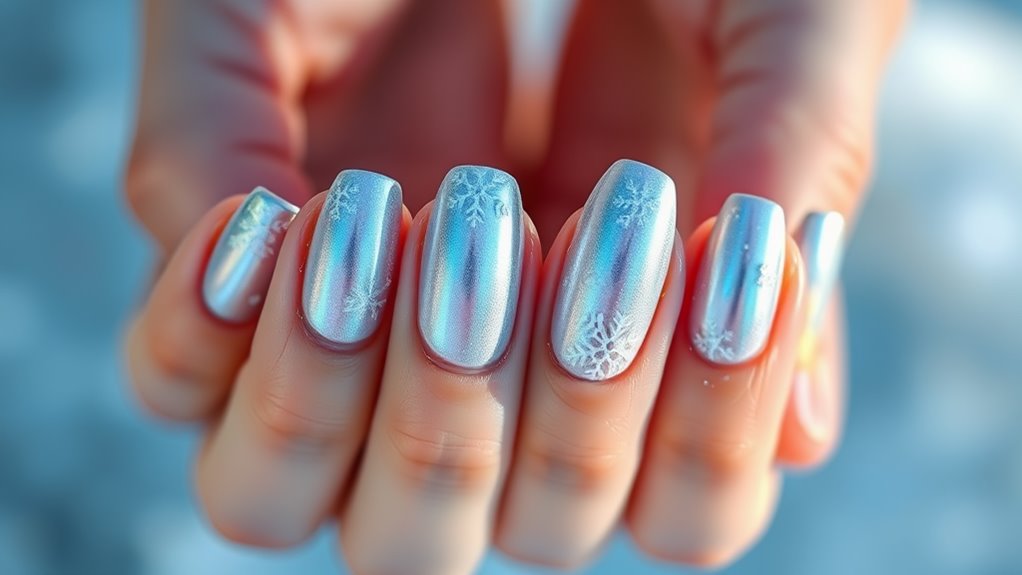
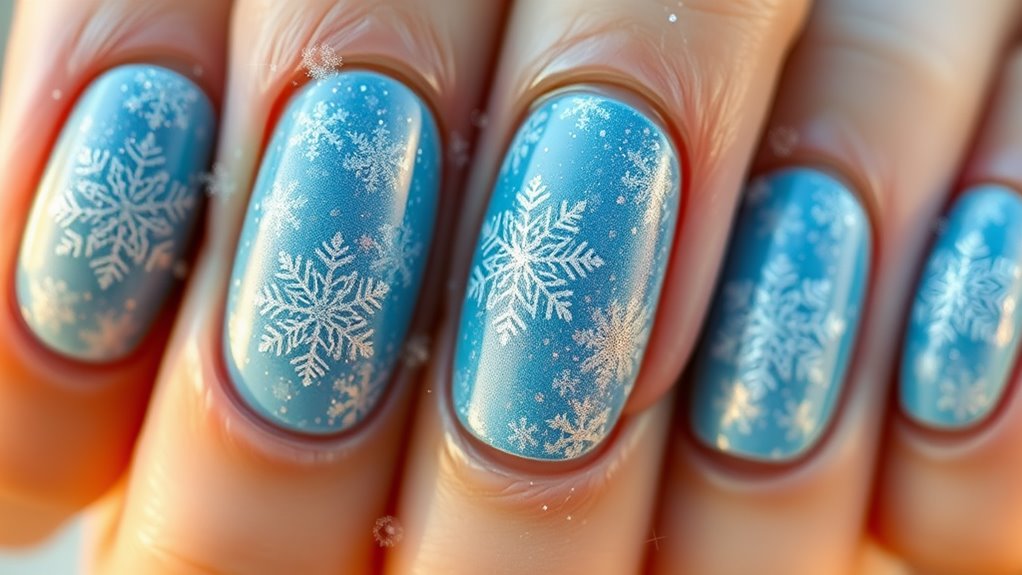
For stunning snowflake nails that sparkle like winter magic, start with a light base color like icy blue or soft white. This enhances your snowflakes, which you’ll create using a fine-tipped brush or dotting tool for precision. Adding fine or chunky glitter around your designs will give them a magical shimmer. Always finish with a high-quality topcoat to seal in your hard work and maintain shine. Remember, a clean start and careful technique are key for a lasting manicure. Want to know more tips and tricks to perfect your winter nail design? There’s so much more to explore!
Essential Tools for Nail Art
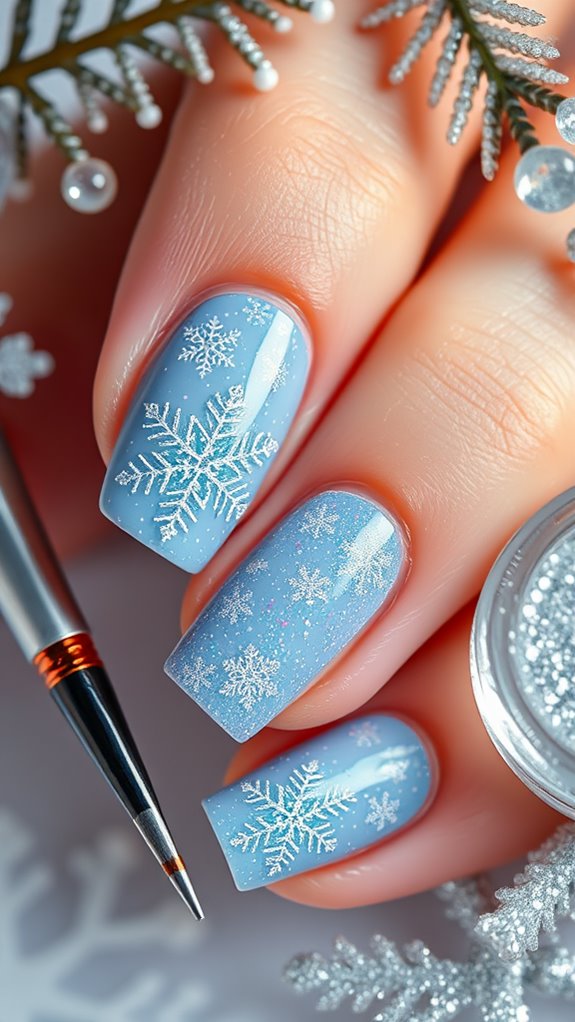
To create stunning snowflake nails, you’ll need a few essential tools at your fingertips. Grab a fine-tipped nail brush for detail work, dotting tools for creating intricate patterns, and a good-quality topcoat for a glossy finish. Don’t forget nail polish in white or icy shades for the snowflakes themselves. With these tools, you’ll be ready to design your winter wonderland nails!
Choosing the Perfect Base Color
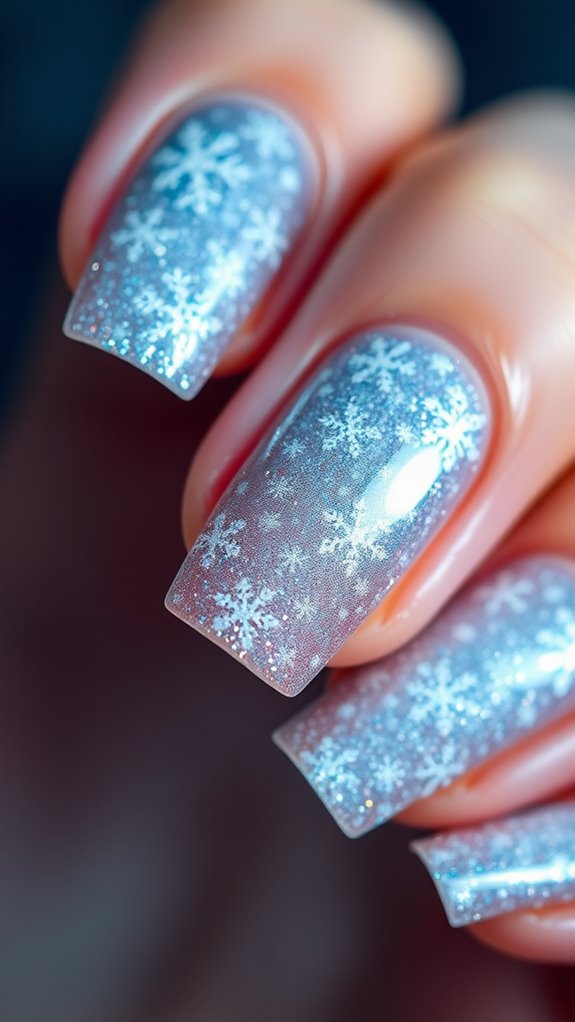
Nail polish selection can make or break your snowflake nails, so it’s crucial to choose the perfect base color. Opt for shades that resemble winter’s beauty—think icy blues, soft whites, or shimmering silvers. These colors provide a stunning backdrop for your designs. Avoid overly dark shades, as they can overshadow the delicate snowflake details you’ll be adding later. Happy painting!
Designing Snowflakes With Precision
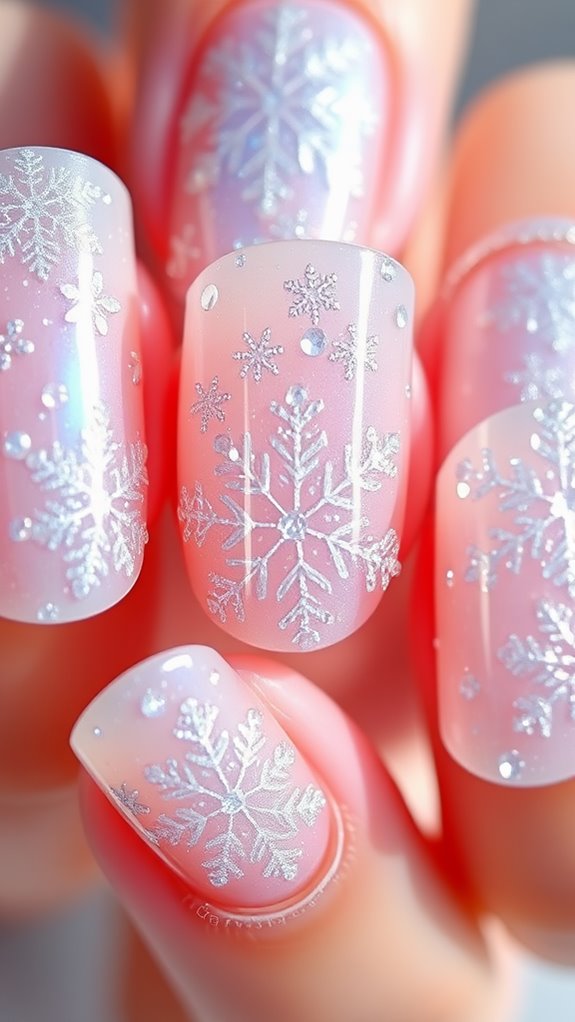
Creating intricate snowflake designs requires a steady hand and a bit of patience. Start by using a fine nail art brush or a dotting tool for precision. Choose a white or light color for the snowflakes to stand out against your base. Outline basic shapes, then add details like tiny lines and dots. Practice on a nail wheel first if you’re unsure!
Adding Glitter and Sparkle
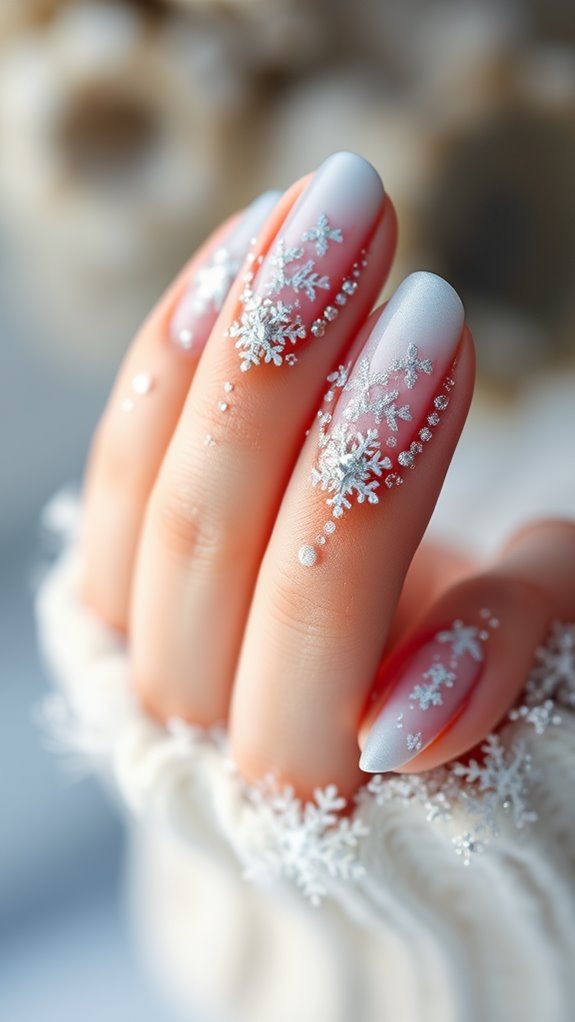
If you want to elevate your snowflake nails, adding glitter and sparkle can make all the difference. Choose fine glitter for a subtle shimmer or chunky glitter for a bold effect. You can sprinkle it over wet polish or use a clear topcoat to secure it. Don’t forget to apply it strategically around your snowflakes for that enchanting winter magic look!
Top Coats for a Flawless Finish
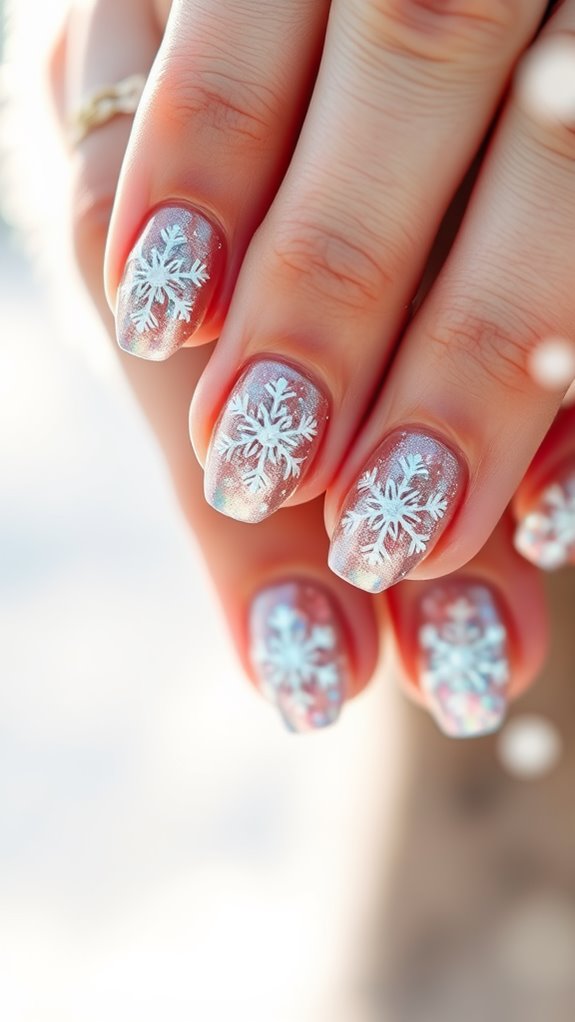
While you may have perfected the art of snowflake designs, choosing the right top coat is crucial for achieving a flawless finish. Opt for a high-quality, quick-drying top coat to seal in your beautiful work and enhance shine. If you want extra sparkle, consider a glitter top coat. Just remember to apply it evenly for that perfect winter magic look!
Creative Variations for Snowflake Nails
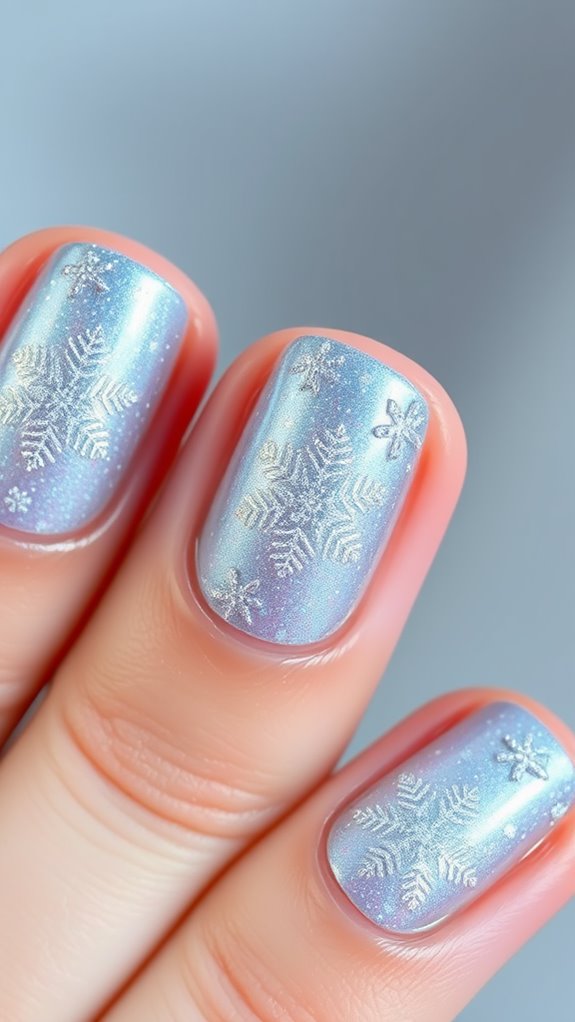
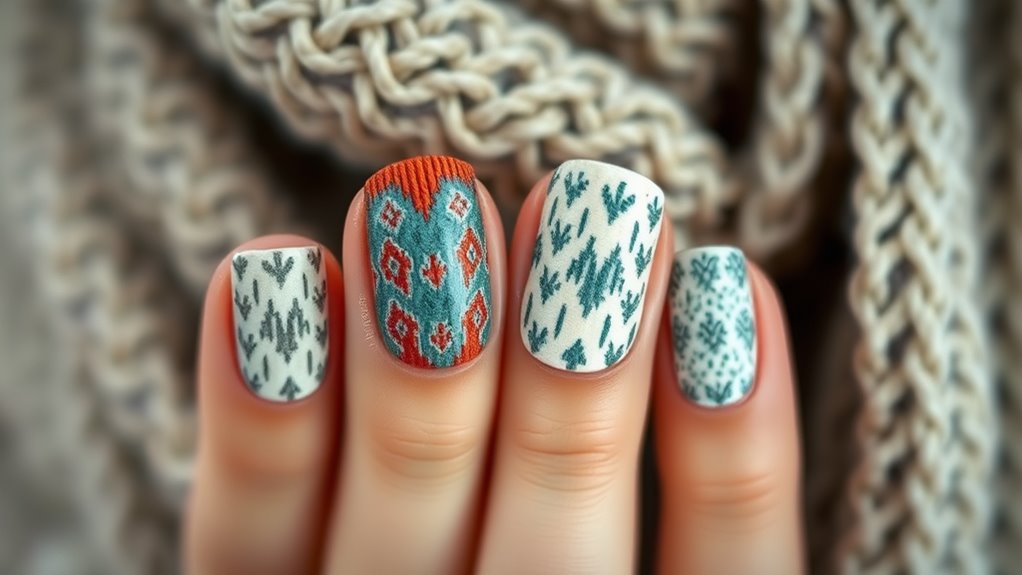
After achieving that flawless finish with your top coat, it’s time to explore creative variations for your snowflake nails. Consider using different colors to create a gradient effect or adding glitter for extra sparkle. You could also try different snowflake designs, like intricate patterns or minimalist styles. Don’t forget to mix in some winter-themed accents, like tiny stars or snowmen, for a whimsical touch!
Tips for Long-Lasting Manicure
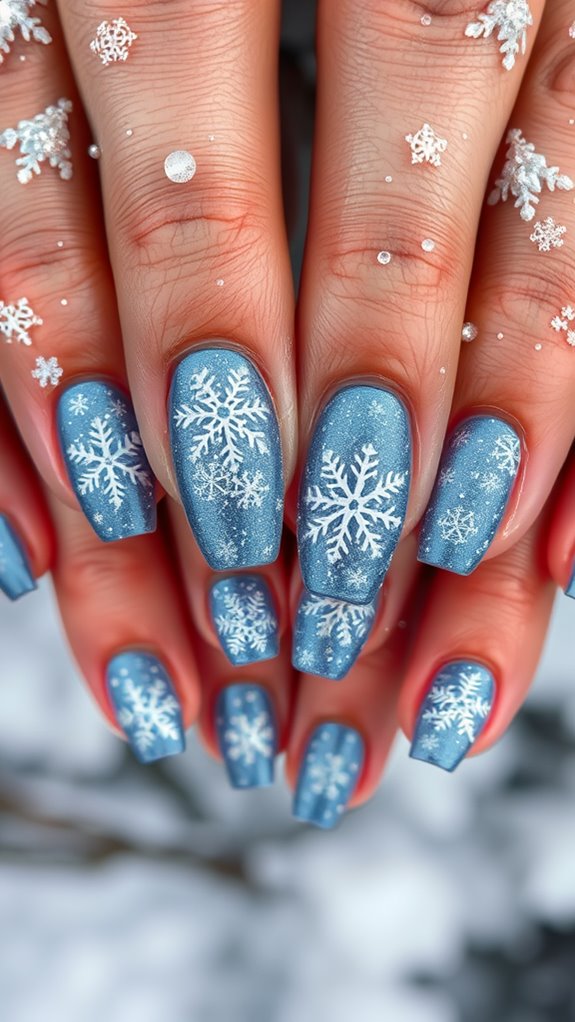
To make your snowflake nails last, it’s essential to nail down a solid prep and maintenance routine. Start by cleaning your nails thoroughly, then apply a quality base coat to prevent chipping. Use a top coat to seal in your design and enhance shine. Avoid prolonged exposure to water and wear gloves while doing chores to keep your manicure looking fresh longer.

