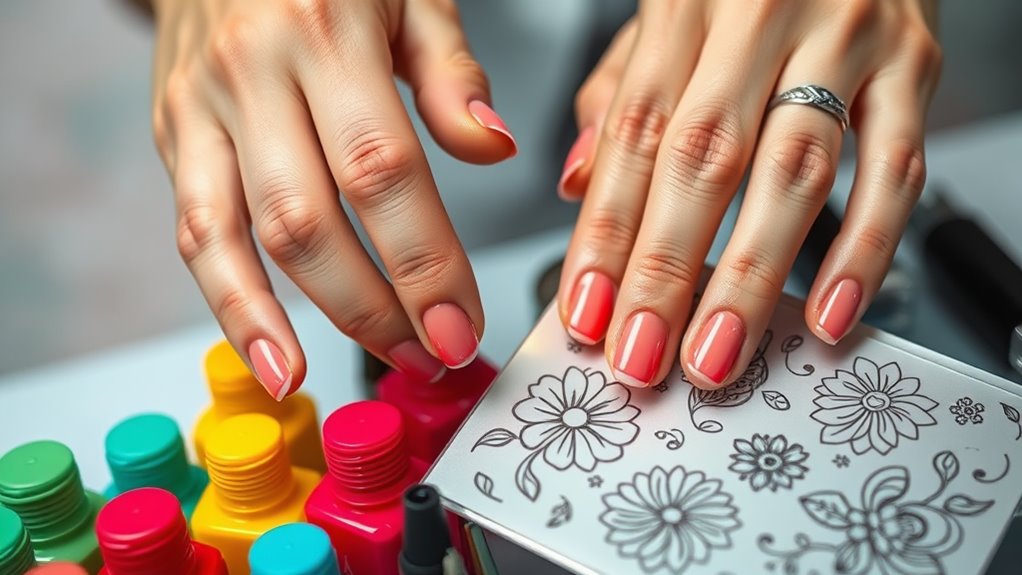
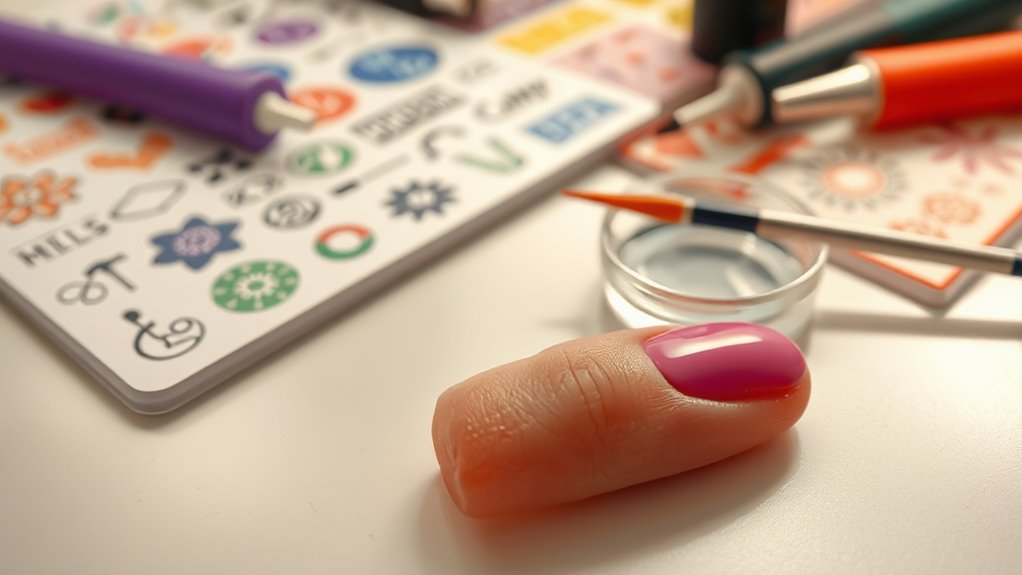
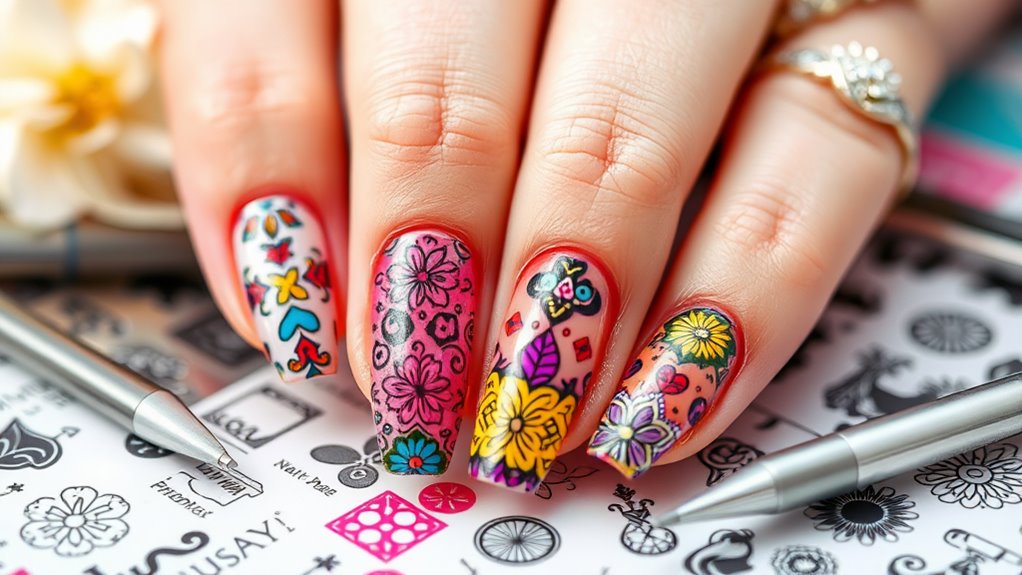
Tips for Perfecting Your Nail Stamping Technique
To perfect your nail stamping technique, start by choosing quality tools, like a deep-etched stamping plate and thick stamping polish. Prepare your nails by cleaning them thoroughly, trimming, and applying a base coat. When stamping, apply a thin layer of polish to the plate, scrape at a 45-degree angle, and roll the stamper onto your nail for an even design. Be mindful to work quickly, as delays can lead to smudging. Remember to clean your tools after each use and store them properly. Following these tips will sharpen your skills, and there’s plenty more valuable advice waiting for you.
Choosing the Right Tools
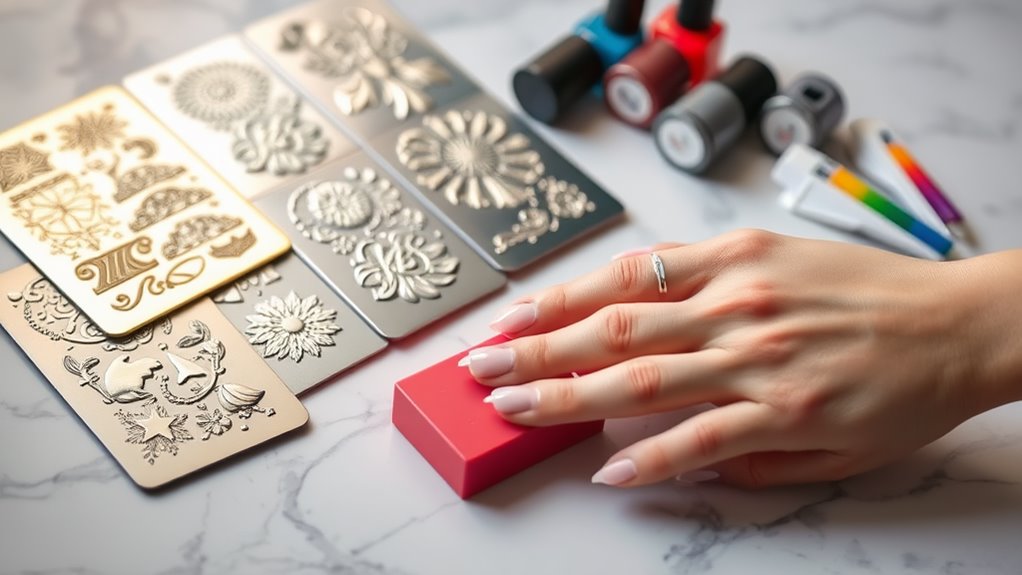
When it comes to nail stamping, having the right tools is essential for achieving stunning designs. You’ll want to start with a quality stamping plate, which features various designs etched into metal or plastic. Look for plates with deep etching; this helps pick up more polish.
Next, grab a good stamping polish. Regular nail polish often won’t work well because it dries too quickly. Stamping polish is thicker and stays wet longer, making it easier to transfer designs.
You’ll also need a reliable stamper. A transparent stamper is ideal since it lets you see where you’re placing the design. Remember to clean your stamper and plates before using them. A bit of isopropyl alcohol on a cotton pad does wonders!
Lastly, don’t forget about a scraper. This tool helps you remove excess polish from the plate before stamping. Make sure it’s flexible yet sturdy, so it effectively scrapes without damaging your plate.
With these tools in hand, you’re well on your way to creating beautiful nail art that’ll impress everyone. Get ready to express your creativity and have fun with your nail stamping journey!
Preparing Your Nails
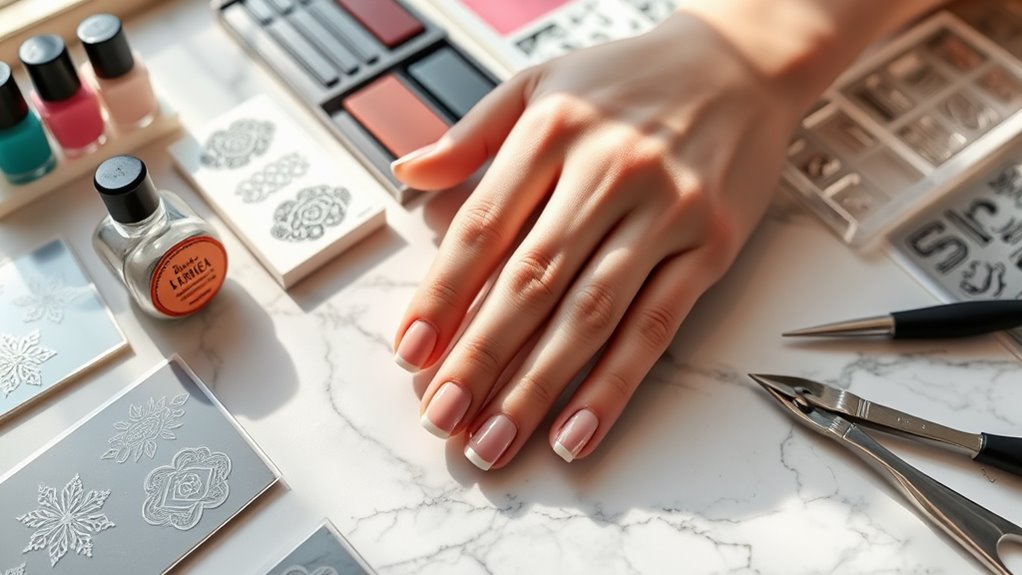
Before you immerse yourself in nail stamping, it’s crucial to prepare your nails properly for the best results. Start by removing any old polish. Use a gentle nail polish remover and cotton pads to make certain your nails are clean and ready for a fresh application.
Once your nails are polish-free, wash your hands thoroughly to eliminate any residue or oils.
Next, trim and file your nails to your desired shape. It’s important to create a smooth surface, as jagged edges can affect the stamping process.
After shaping, push back your cuticles gently using a cuticle pusher. This step helps to prevent any interference with your design.
Now, apply a base coat to protect your nails and create a smooth canvas. This not only enhances the adhesion of the polish but also makes your design last longer.
Allow the base coat to dry completely before moving on. Remember, patience is key!
Lastly, keep your nails hydrated by applying a good quality cuticle oil or hand cream. This keeps your nails and skin in prime condition, making sure your stamping technique shines.
With your nails prepped, you’re ready for some stamping fun!
Mastering the Stamping Process
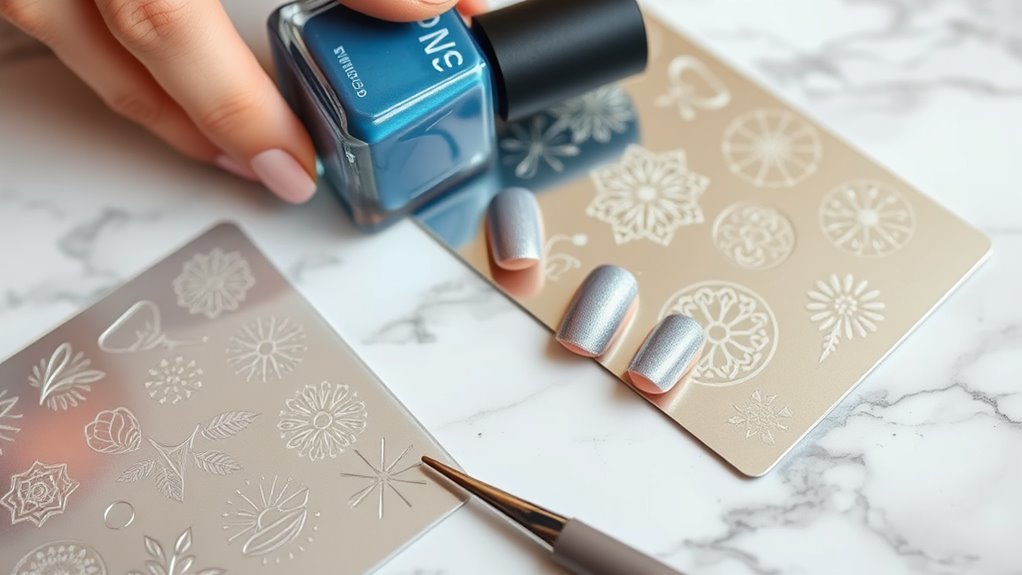
Mastering the stamping process requires a steady hand and some practice, but with the right technique, you can achieve stunning nail art in no time.
Start by selecting a quality stamping plate and a good stamping polish. These polishes are thicker and designed to pick up the design better. Apply a thin layer of polish to the chosen image on the plate, then quickly scrape it off at a 45-degree angle using a scraper.
Next, use your stamper to pick up the design. Press the stamper firmly onto the image, rolling slightly as you lift it to avoid smudges.
Now, gently press the stamper onto your nail, making sure to cover the area you want to stamp. A light rolling motion can help transfer the design evenly.
Once you’ve stamped your nail, you can use a clean-up brush dipped in acetone to tidy up the edges. Finish with a top coat to seal your design and add shine.
Common Mistakes to Avoid
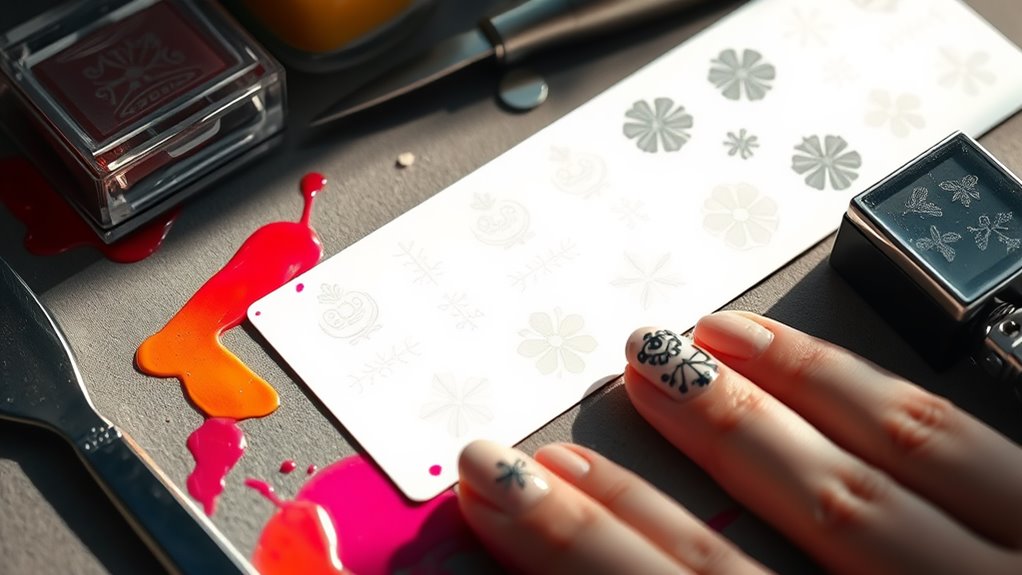
Nail stamping can be a fun and creative way to express yourself, but there are common mistakes you should steer clear of to achieve the best results. One major error is using the wrong type of polish. You need to opt for a thicker, quick-drying polish specifically designed for stamping. Regular polish won’t transfer well and can lead to smudged designs.
Another mistake isn’t applying enough pressure when stamping. If you don’t press down firmly, the design mightn’t fully transfer, leaving you with incomplete images.
Also, make sure to work quickly after applying polish to the plate; waiting too long can cause the polish to dry, making it impossible to stamp.
Don’t forget about your stamper! Using a dirty or damaged stamper can ruin your design. Always check for any residue or imperfections before you begin.
Finally, be patient with yourself. Nail stamping takes practice, and it’s okay if your first few attempts aren’t perfect. Keep trying, and soon you’ll see your skills improve!
Cleaning and Maintenance Tips
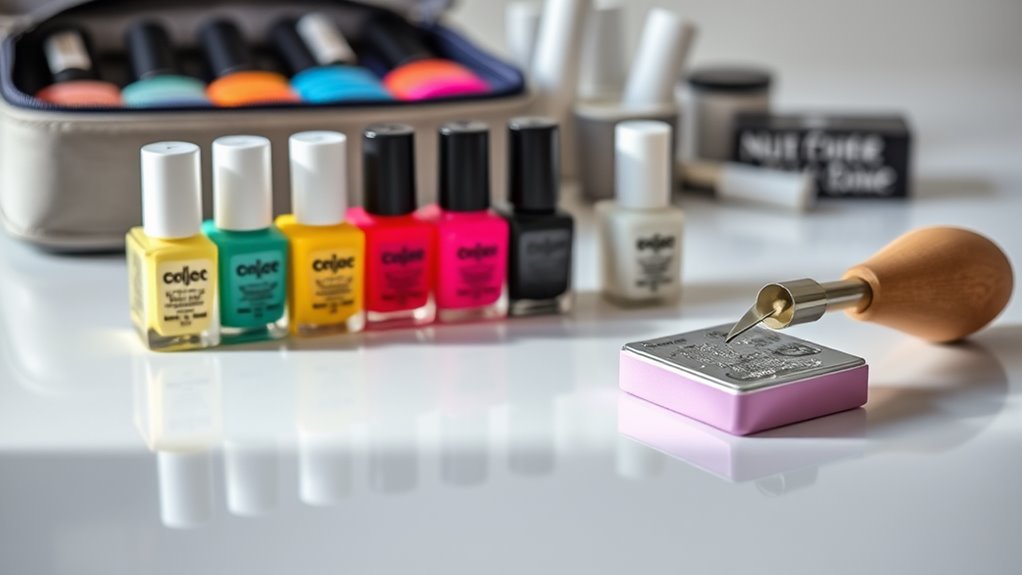
Maintaining your stamping tools is essential for achieving flawless designs each time you create nail art.
First, always clean your plates and stamps right after use. Use a cotton pad soaked in nail polish remover or rubbing alcohol to wipe off any leftover polish. This prevents buildup that can ruin future designs.
Next, store your tools properly. Keep your stamping plates in a protective sleeve to avoid scratches, and store your stamper in a cool, dry place. A dedicated container can help keep everything organized and dust-free.
Check your tools regularly for signs of wear. If your stamper starts to lose its stickiness or your plates become scratched, it might be time for replacements.
Also, don’t forget about your polishes! Make sure the caps are on tightly and store them in a cool, dark area to prolong their life.

