Troubleshooting Common Nail Stamping Mistakes
If you’re having trouble with nail stamping, don’t worry; it’s a common issue. Overloading the stamping plate with polish can make a mess, while too much pressure can distort designs. Confirm your base coat is completely dry to help the stamp adhere better. Using a top coat that isn’t meant for stamping can also cause smudging. Clean your stamper and plate thoroughly before use, and practice your technique by first aligning the stamper over your nail. By focusing on these details, you can perfect your nail art, and there’s even more to discover that can help you excel!
Understanding Nail Stamping Basics
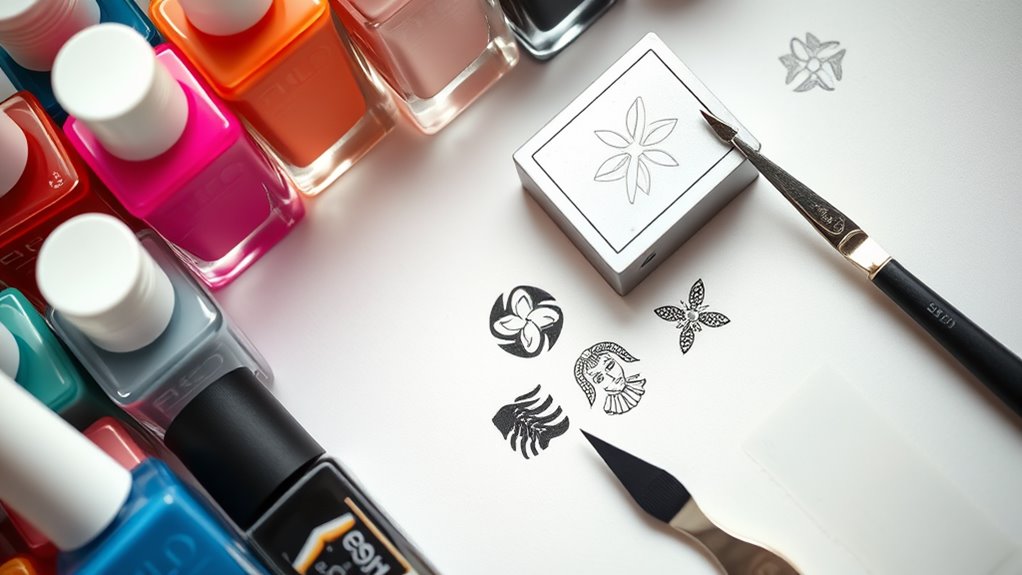
Nail stamping involves applying intricate designs to your nails using a specialized plate and stamping tool, and it can elevate your manicure game considerably. To get started, you’ll need a stamping plate, a stamping tool, and some special nail polish. The plates come with various designs, from flowers to geometric shapes, so you can find something that speaks to your style.
First, paint your nails with a base color and let it dry completely. When you’re ready to stamp, apply a thin layer of nail polish onto the design you want. Use the scraper tool to remove the excess polish, making sure only the design remains on the plate.
Now, press the stamping tool onto the design to pick it up. Finally, transfer the design onto your nail by pressing the tool down firmly.
Don’t forget to seal your masterpiece with a top coat to protect it and make it shine. With a little practice, you’ll be able to create stunning nail art that turns heads.
Nail stamping is all about having fun, so don’t hesitate to experiment with different colors and designs to find what you love!
Common Mistakes and Their Causes
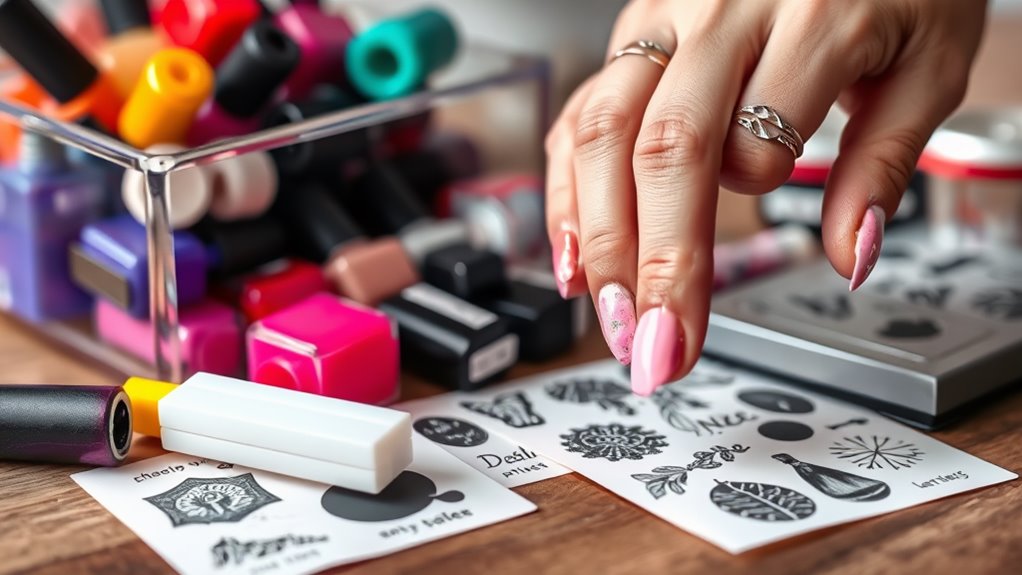
Stamping success can often be hindered by common mistakes that many beginners make. One frequent error is applying too much polish on the stamping plate. When you overload the plate, it can lead to messy designs that don’t transfer properly. Instead, use just enough polish to cover the design without excess.
Another common mistake is pressing too hard when you stamp. If you apply too much pressure, you might distort the image or smudge it altogether. A gentle, even pressure is all you need for a crisp transfer.
Not allowing enough drying time for your base coat before stamping can also cause issues. If the base isn’t fully dry, the stamp won’t adhere correctly, leading to uneven designs. Always give your base coat ample time to set before you start stamping.
Lastly, using the wrong type of topcoat can ruin your hard work. Some topcoats can smear your stamped designs, so make sure to choose one that’s specifically designed for nail art.
Tools and Products for Success
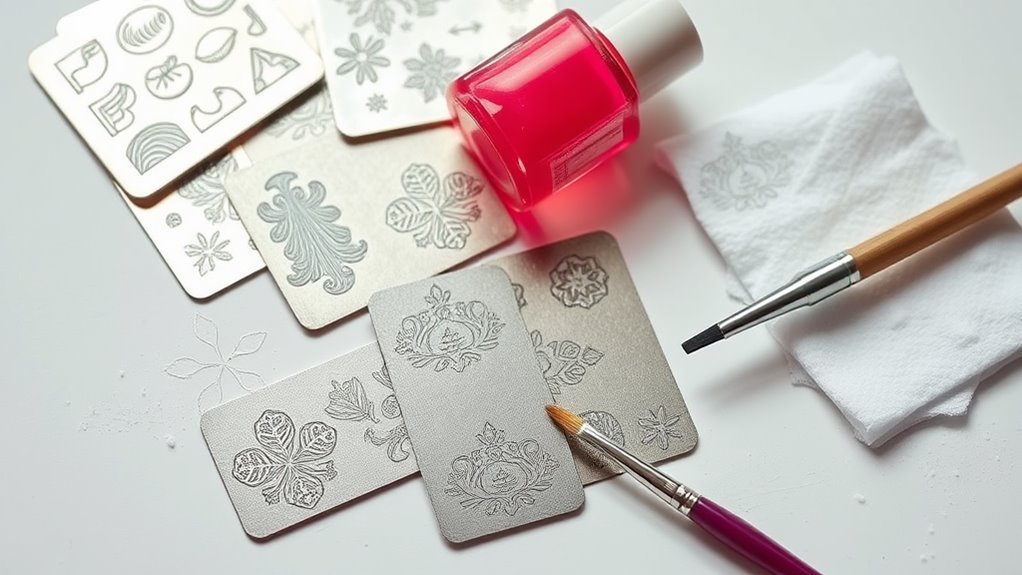
To achieve stunning nail art, having the right tools and products is essential. Start with a high-quality stamping plate. Look for ones with deep etching, as they capture more polish and create clearer designs.
You’ll also need a good stamper; a squishy, transparent one is ideal for precise placement.
Next, don’t overlook your nail polish. Use specially formulated stamping polishes, as they’re thicker and designed to transfer well. Regular nail polish mightn’t work as effectively, leading to smudged designs.
A scraping tool is also vital. Make sure it’s flat and sturdy, allowing you to evenly spread the polish across the plate without damaging it.
A lint-free wipe or paper towel helps clean off any excess polish on your stamping plate and stamper.
Step-by-Step Troubleshooting Guide
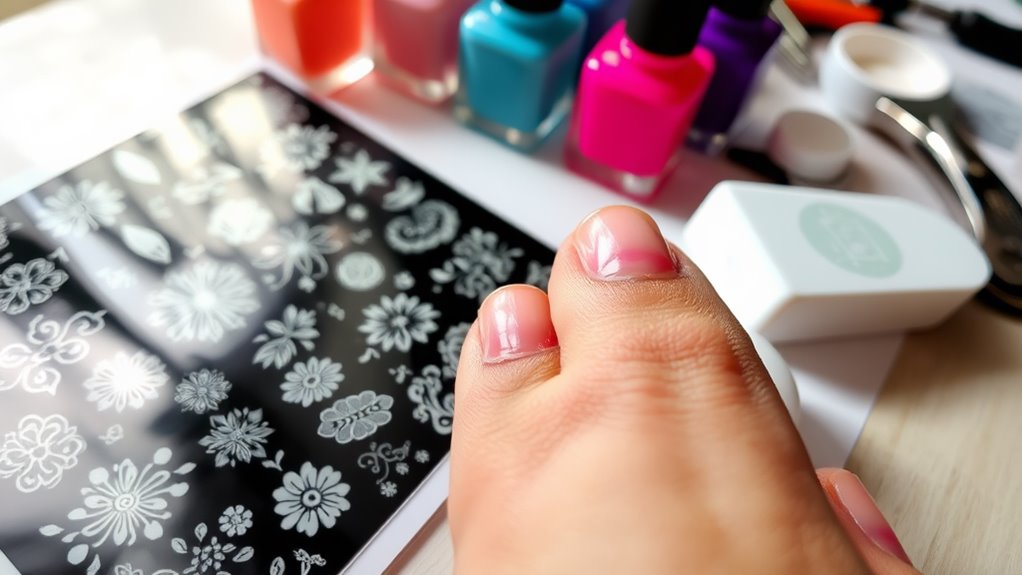
Encountering issues while stamping can be frustrating, but troubleshooting effectively can save your designs. Start by examining your tools. Is your stamping plate clean? Any leftover polish can create a barrier, preventing the transfer of the design. If your polish isn’t sticking, try a different brand; some work better than others for stamping.
Next, check your technique. Are you applying enough pressure when you stamp? If you’re hesitant, the image may not transfer completely. Make sure you roll the stamper over your nail for an even application. If the image is still faint, consider using a thicker polish since thinner ones often don’t transfer well.
If the design smudges, it could be due to too much top coat or not letting the polish dry completely. Allow your base color to dry thoroughly before attempting to stamp.
Finally, if you’re having trouble with alignment, practice placing the stamper directly over your nail before pressing down. Remember, practice makes perfect!
Tips for Perfect Nail Stamping
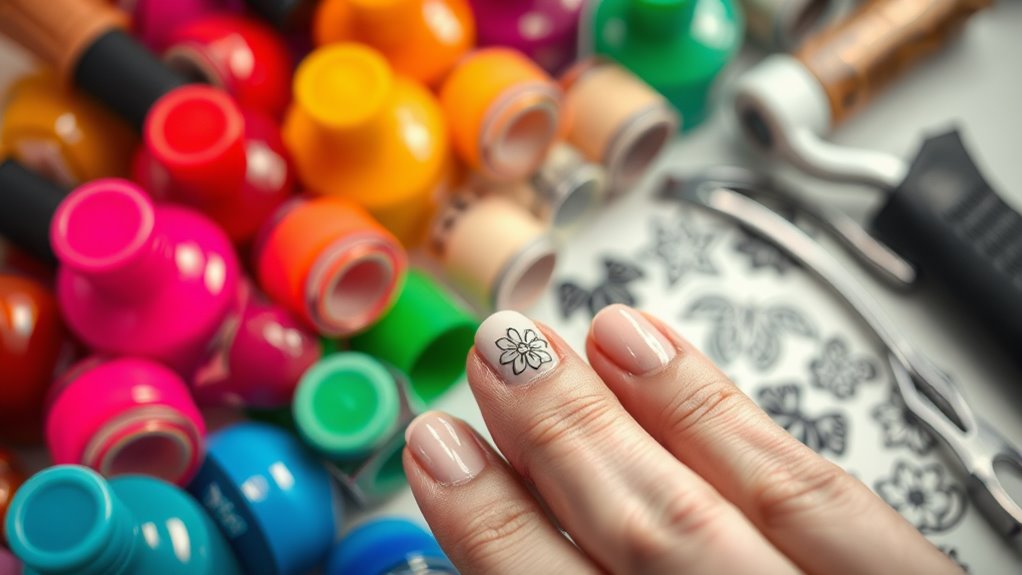
Achieving perfect nail stamping requires a blend of the right techniques and tools. First, choose high-quality stamping polish. Regular nail polish can be too thin and may not transfer well. Make certain you pick a polish specifically designed for stamping, as it’s thicker and dries slower, allowing for better results.
Next, use a good-quality stamping plate. Look for plates that have deep etching, which helps pick up more polish. When you’re ready to stamp, ascertain your stamper is clean and sticky. You can test its stickiness by pressing it against your skin; if it picks up lint, it’s ready to go!
Before you stamp, prep your nails. Clean them with rubbing alcohol to remove any oils or residue. Apply a base coat, then your chosen color, allowing it to dry completely.
When you’re stamping, work quickly, pressing the stamper down firmly and lifting straight up. If your design doesn’t transfer perfectly, don’t worry! You can always practice on a piece of paper until you feel confident.
With patience and practice, you’ll master nail stamping in no time, creating stunning designs that’ll impress everyone!

